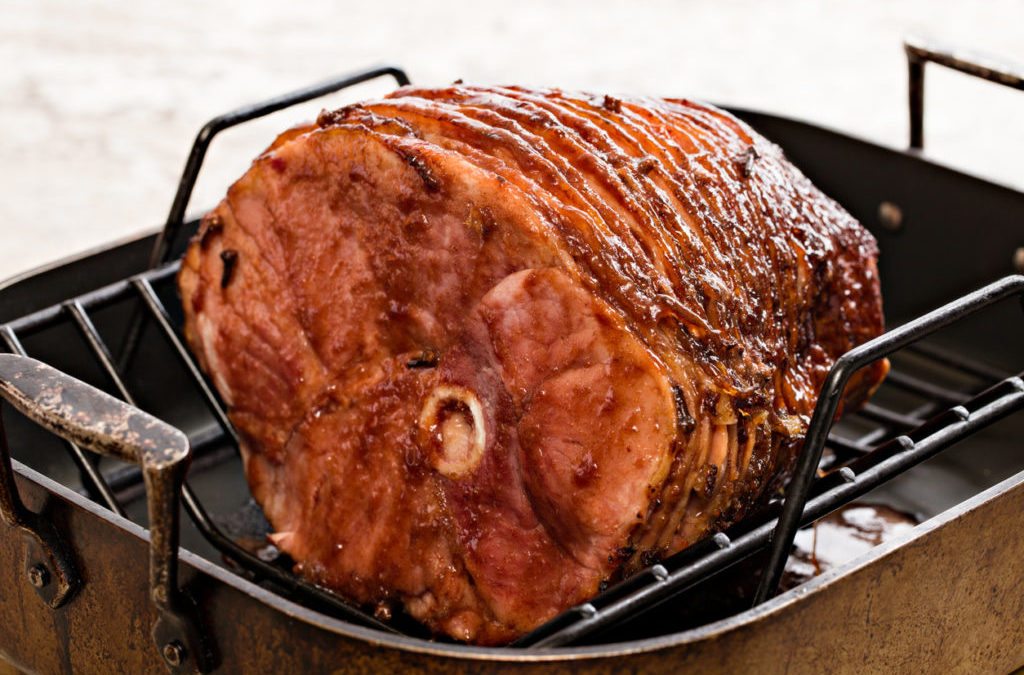
Hempler’s is proud to offer a full array of delicious hams for your holiday table – including Black Forest, Honey Cured, uncured, boneless, bone-in, spiral sliced, and the Fred Meyer Flame Crafted Ham. But you eat with your eyes first, so to make sure your presentation matches the quality we’re giving you tips on how to carve a ham like a pro.
No matter what type of ham you’re carving, keep the following things in mind:
-Use a large cutting board. Give yourself space to work and don’t crowd yourself!
-Choose a butcher knife. Your knife should be sharp and at least as long as the length of your cuts.
-After your ham is done cooking let it rest for several minutes before carving to allow the juices to redistribute.
How to Carve a Boneless Ham
1. If you find it difficult to work with your ham, take a slice or two off the bottom so it will sit flat on your cutting board.
2. Cut vertically across the ham into slices of desired thickness.
How to Carve a Bone-In Ham
1. On one side of your ham, running parallel to the bone, cut 1-2 slices off the ham to create a flat spot so it will rest on your cutting board without rolling around.
2. Now that your ham is securely on your board, make thin, even slices across the top running perpendicular to the bone. Stop your cut when your knife hits the bone.
3. Next, run your knife along the bottom of the slices parallel the bone to release the individual slices.
How to Carve a Spiral Sliced Ham
1. Cut all the way around the bone (if your ham is bone-in).
2. Slice through the ham along the seams, which are the natural breaks in the muscle.
3. Remove the slices; trim larger ones into smaller pieces if desired.
If you’re in charge of carving the ham this year, don’t let the task intimidate you. It’s not nearly as hard as you think. With this little tutorial (and maybe some extra help from YouTube) you’ll be able to make sure your Hempler’s ham looks as good as it tastes.


